Pages

Monday, October 28, 2013


WINTER CELEBRATION IS HERE!!


Time for the Old Farmhouse Gathering Winter Celebration!!! Starts today!!! Please come join us in the fun and shop for so many wonderful gift items from this wonderful and talented team. Just follow here or you can go to Etsy and type in WCCOFG into the search bar to see all the great goodies for sale! See you there!


Colleen :)

Wednesday, October 23, 2013

U.S. PRESIDENTS BORN IN OCTOBER


Hope everyone's week is going well. We are very busy around here. Still waiting for the first snowfall to come which is pretty late this year. Usually we have snow on the ground by now. Now I am not complaining....only thing is we have been getting way too much rain and with all the flooding problems we keep getting the rain needs to go away. Most rain this region has had in the last 48 years!!


So in honor of October we are going to do a little trivia. Did you know that October is the month with the most Presidents born? There are six of them. Interesting fact. Here they are:

us presidents
Stock Photo

Jimmy Carter was born October 1, 1924

Dwight Eisenhower was born October 14, 1890

Theodore Roosevelt was born October 27, 1858

theodore roosevelt
Stock Photo

Chester Arthur was born October 5, 1829

Rutherford B Hayes was born October 4, 1822

John Adams was born October 30, 1735 (wow that was a long time ago! )


president john adams
Stock Photo
So that is pretty interesting that there were so many president born in October. October is a good month for birthdays. Some of the best people I know have October birthdays...my brother, my son-in-law and daughter-in-law....yep some pretty famous people. :)

Well hope you all have a great week!! :)
 

Monday, October 21, 2013

WINTER CELEBRATION!!!

It is time for another celebration from the very talented Old Farmhouse Gathering Team on Etsy!! These celebrations are always so much fun as the artist always have new items to show you. And what wonderful gifts these handmade artisan make!  


It will start next Monday October 28th thru November 16th. That gives you three fabulous weeks do so some really serious gift shopping! When the celebration starts all you will have to do is type in WCCOFG in the search bar on Etsy to find all the wonderful items that will be offered. I also will put a link on my blog and Facebook to go directly to it.
 
 
So get those fingers loosen up and get ready to.....SHOP UNTIL YOU DROP!! :)


Wednesday, October 16, 2013

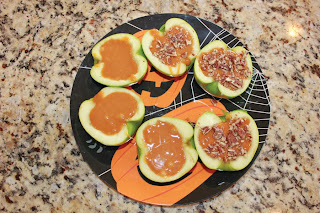
CARMEL APPLES...LET'S MAKE SOME

Well fall is here and it is almost time for Halloween so I thought we would make a traditional favorite this time of year. So with the help of my grandkids let's make some caramel apples.


One of our favorite fall snacks is caramel apples. However, we tend to shy away from making them because not only are they messy to make, frankly they are a pain to eat. This fun new twist, inside-out caramel apples, makes them easy to make as well as easy to eat!


What you will need:

1 14 oz bag of caramels
1 1/2 tablespoons of water
2+ apples
2 tablespoons lemon juice
Nuts (optional)


How to make:

1. Heat the caramels and water in a small saucepan over medium-low heat until melted. Stir often.

2. Meanwhile, cut apples in half and remove the stem. Using a spoon or melon baller, remove the seeds and core of the apples leaving about 1/4" of apple.

caramel apples


3. Using a pastry brush, immediately brush "apple cups" with lemon juice.

4. After apples have sat with lemon juice for at least 2 minutes, use a paper towel to pat the insides dry.

5. Pour the melted caramel inside of the apples cups.

6. Sprinkle them with nuts if desired.

Once the caramel is completely hardened, the apples can be sliced into wedges.


apples
 
 
Hmmmm....makes me hungry just reading this. I use to love to eat caramel apples and yes they were messy, but this sounds like a much better way to get that caramel apple eaten. So head off to the store and get your supplies and enjoy making and eating caramel apples!

  
Enjoy!

Thursday, October 10, 2013

HOW TO MAKE WILD CRANBERRY JELLY

In an earlier blog I was telling you that we had gone up to the mountains and picked our high-bush cranberries for making jelly. Well today we are going to make the jelly. :) Now, this is just the way I make jelly. I have experimented and trial and error to get my process down. I am sure there are many other ways of doing this, but this is how we do it. 

Supplies you will need will be:

Berries
Cook pan
Bowl
Sugar
Lemon juice
Liquid fruit pectin
Jelly jars and lids
Small plate to test jelly. Put this in the freezer so it is cold when you test.


First you need to pick your berries. We have so many berries up here it is hard to get them all picked. These are the high-bush cranberries we picked. A lot of the jelly process is the same for all of the berries you might pick. A big part of the process is how much natural pectin the berries have and the ripeness of the berries which varies from year to year. Pectin is what makes the jelly jell. You will just have to test and see what works that year.
 
 
First step is to sterilize your jelly jars. I do this by putting them in a large pan of boiling water for 10 minutes or until I have all my other supplies set up and ready to go.


Then measure 4 cups of berries to 2 cups of water. Put on the stove and bring to a boil.


Cook for approximately 7 minutes or until the berries burst. This whole jelly making process is a two man job so you may need some help. Notice hubby is the "stirrer". :)

 
After you cook the berries you will need to put the cooked berries in a cheesecloth bag like this one. This is a stock picture since I forgot to take a picture of this step. :(  Once the berries are in the bag you will need to squeeze the berries to get the juice from the berries as that is what you need for the jelly. Now be careful with this step the berries are very hot! I usually hold the bag and hubby uses my "pinchers" as I call them. Don't know the official name, but the ones you can grab hot things with. :)  

 
After you squeeze the berries you will have just berry juice left. Next you will need to measure the juice and put it in the cook pan again. I do 1-1 ratio. I use 2 cups of juice to 2 cups of sugar. You will be able to experiment what works best for you. Bring the juice to a boil and add the sugar until it is dissolved.


Next add in 3 teaspoons of lemon juice to the pan and appx 1/2 package of liquid pectin to start with. Cook this appx 5 minutes. Now as the jelly cooks it will form a head on it so be careful that it doesn't over boil. If the color changes stop cooking immediately. You will need to test the jelly on the small plate to see how it is jelling. Take a little spoonful of the jelly and put it on the plate and turn the plate at an angle to have it run down the plate. If it seems like it is jelling ok and is slowly running down the plate it is good to go. If not, then add a little more pectin and another teaspoon of lemon juice.

 
Once jelly is jelling and ready to go pour into the sterilized jars. Let the jelly cool for awhile before you put the lids on. That way you can see if it is jelling also.


The hardest thing to gauge working with wild berries is the natural pectin and ripeness. Each year is different and each years growing conditions are different. One year they will be great and the next won't be. Over the years we have just worked with whatever the berries are for that year, but there is nothing better that having your own jelly in the middle of the winter. You can also make syrup from these berries which is another tutorial one of these days. Very good on pancakes!
 
Well I hope that wasn't too complicated. It is really pretty easy once you get your procedure down and know what you are doing...and yes....hubby and I say every year....."now how did we do this and that"! :)
 
 
Thanks for joining me and have a great week!
  

Saturday, October 5, 2013


ANOTHER GIVEAWAY

Come join me for a giveaway at byyourhands blog!!


I have been asked to participate in this months giveaway on this great blog so come on over and join the giveaway. I will be giving away this cute stitchery pillow that is perfect for all your Halloween decorating.


pillow


So click right here for a chance to win this pillow. Thanks for joining me in this giveaway!
 
 
Have a great day!!
 

Thursday, October 3, 2013

SNOW CAN BE BEAUTIFUL

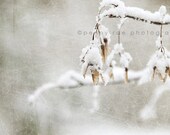
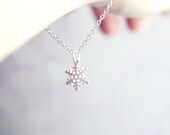
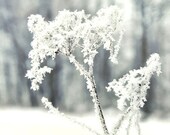
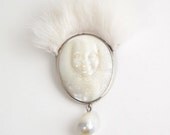
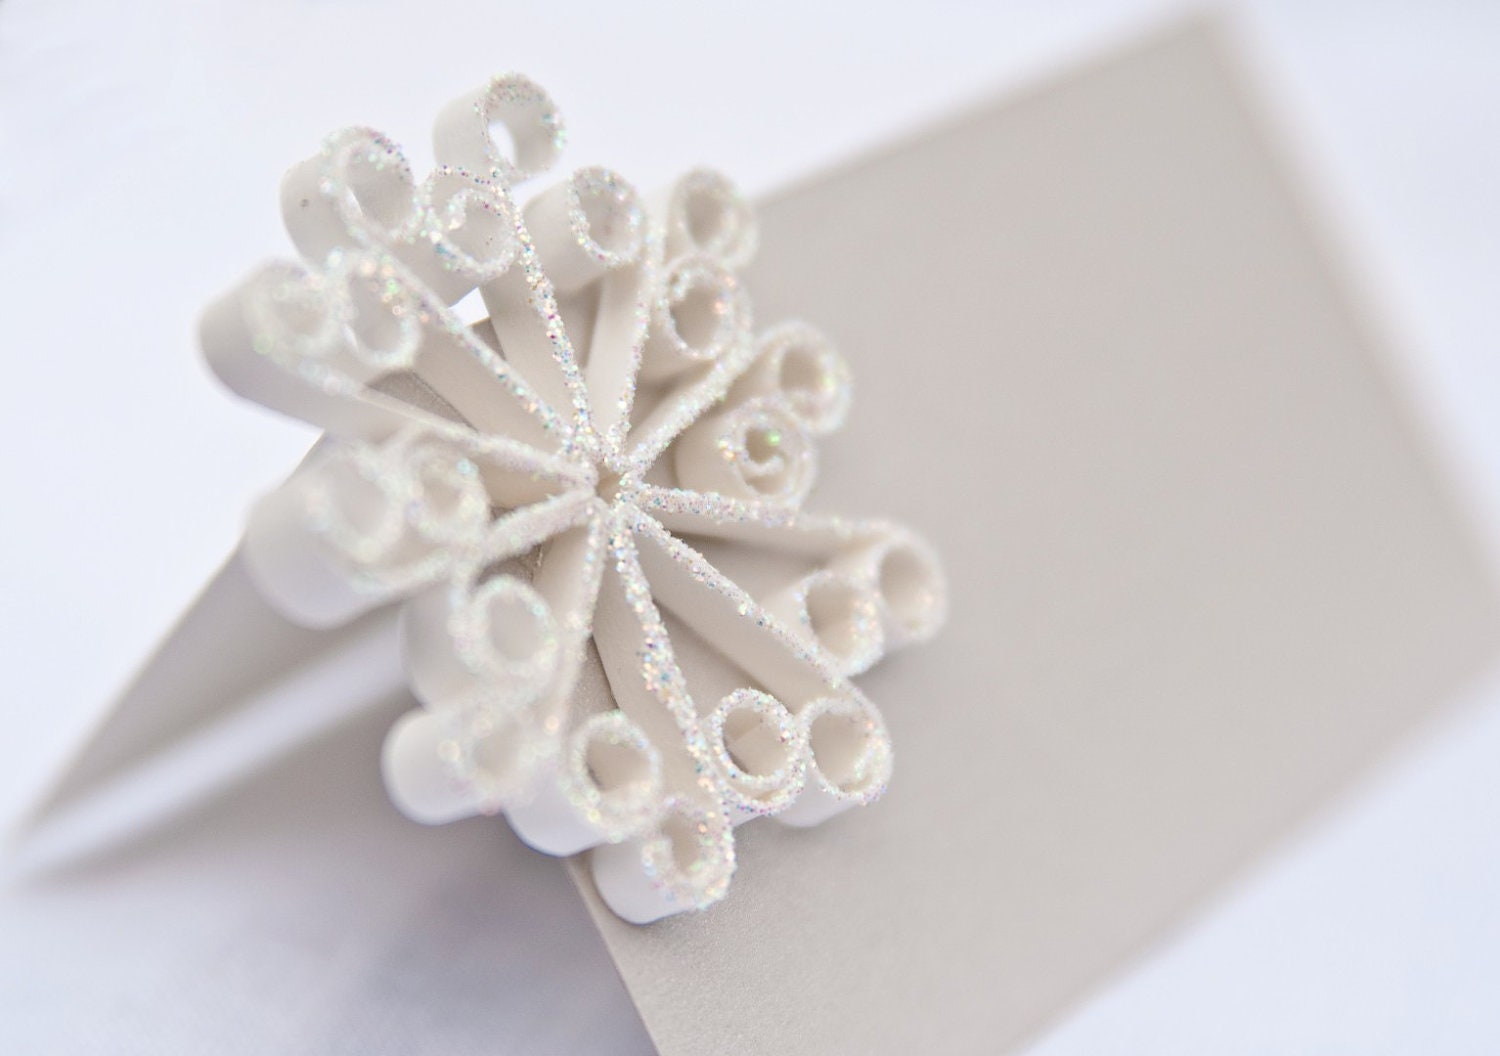
Well I am definitely not ready for the "white stuff" especially up here in the north lands because as soon as that first snow hits the ground it is around for six months, but there is a pretty side to it if you think about it. Snow and white can be very pretty....I just have to see that side of it, so I am trying to keep an open mind as I wait for the snow to come. I think this treasury is a good start. It shows how pretty snow can be. What do you think? Do you like snow? :)


Enjoy! :)


Long Hooded Cape for Girls S...
$99

Hat and scarf set hand knitt...
$125

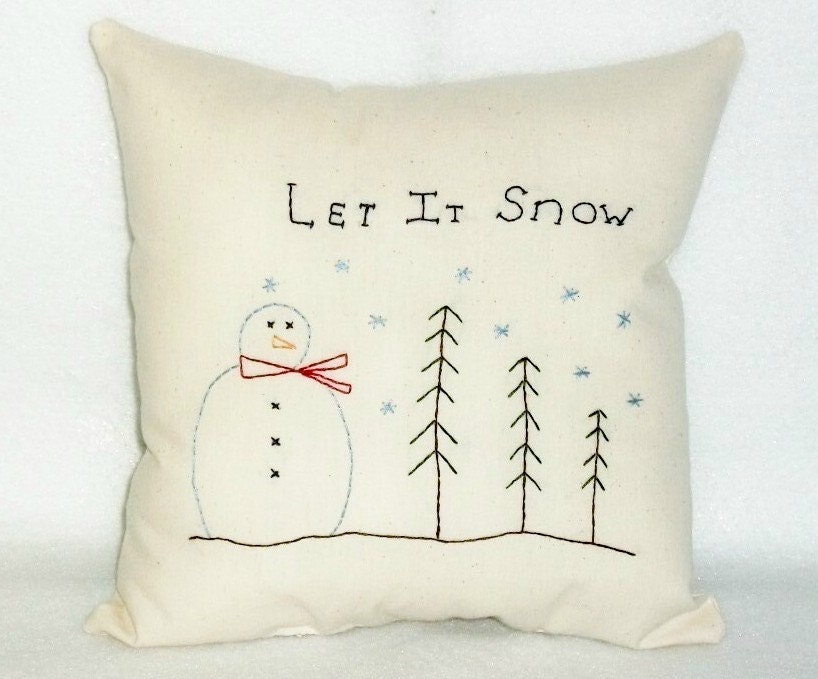
Pillow Snowman Trees Origina...
$8

30% off sale - Nature Photog...
$30

SNOW WHISPERS 8x12 Mounted P...
$30

The Silence of Snow 8.5x11 a...
$25

snowflake charm bracelet - d...
$10

Listen To The Falling Snow -...
$25

Winter white woodland photo ...
$20

Snow Queen - silver, fur and...
$672

Quilled Snowflake Place Card...
$20

Snow Wolves - Photographic P...
$25

The Snow Queen Fairy Tale Di...
$1

Snowman Snow globe, Christma...
$25.5

New Smaller Size Snow Globe ...
$10

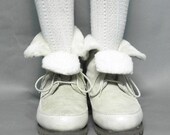
vintage Aigner Winter Boots ...
$45
Sponsored by send bulk email from excel.
Related Posts Plugin for WordPress, Blogger...